
I highlight my favorite features that have been added to Power Automate in recent months.
Comment actions
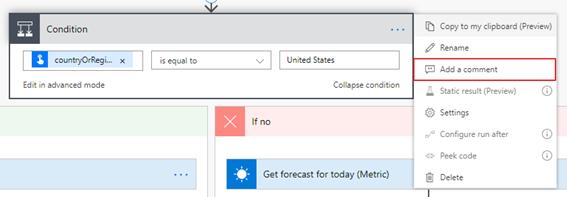
This is something that most of us missed, especially when we had complex flows. This way, we can make our flows easier to maintain.
This is possible by clicking on the three points of any action and clicking on the «Add a comment» option.
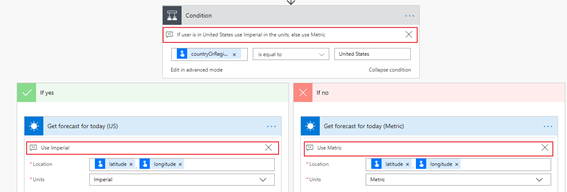
Once this is done, the comment will be displayed as follows in the action or condition.
Copy and paste actions
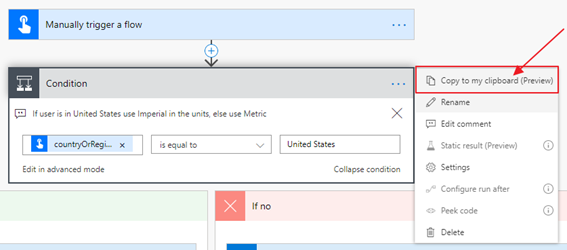
It allows us to develop in a faster and more comfortable way. In addition to copying actions, we can copy conditions so that, when we paste, we copy the actions that the copied condition contains.
Para copiar y pegar acciones, pulsamos sobre los tres puntos y sobre la opción “Copy to my clipboard”. Hecho esto ya lo hemos copiado.
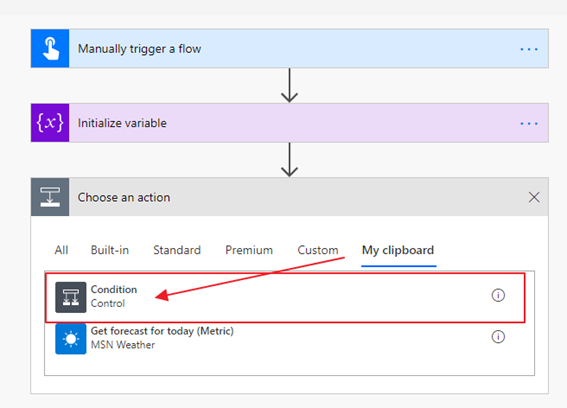
To paste the copied action, go to the «My clipboard» tab and click on the previously copied action. In this tab, all the actions that have been copied will appear temporarily. If you press on one of them, the copied action will be added.
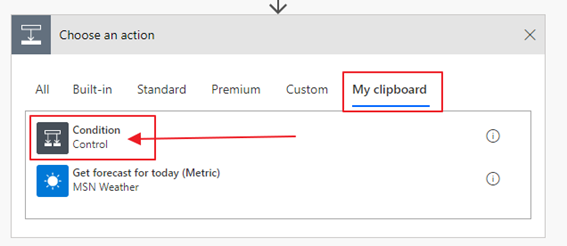
As an interesting point to this section, you can see that the copied actions appear also temporarily available in other flows, of the same tennant.
Static results
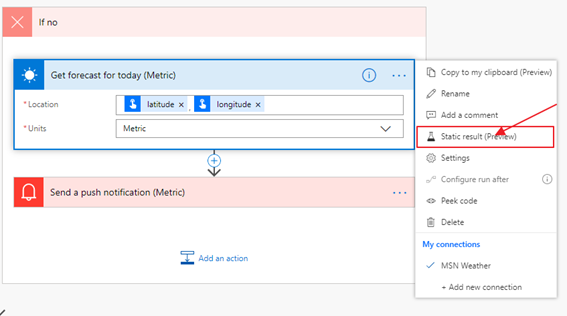
This is one of the most remarkable favorite features, since it allows to define static data in the actions with the aim of developing and debugging the flow more quickly. To do this, click on the three points of the action and «Static result».
In the next panel, the «Enable Static Result» option is activated.
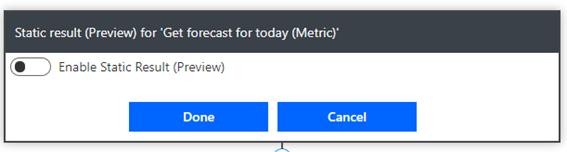
The following panel appears, allowing you to add a status and code to the result of the action. To finish, click on the «Done» button.

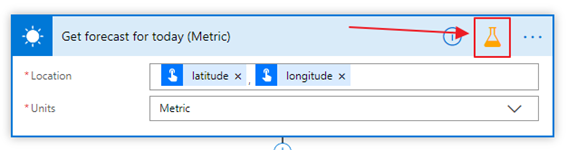
Once this is done, you can see that a test tube appears in the flow action that warns us that the action is using static data.
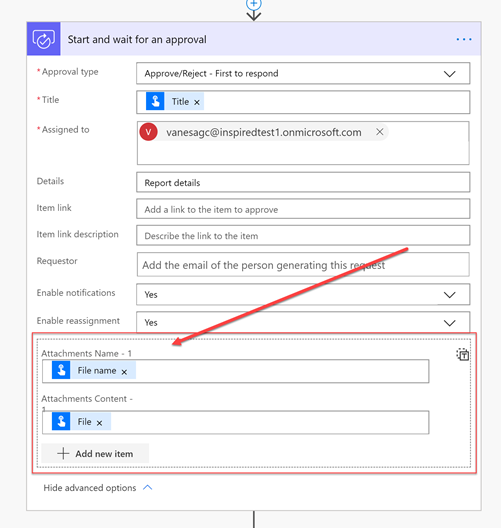
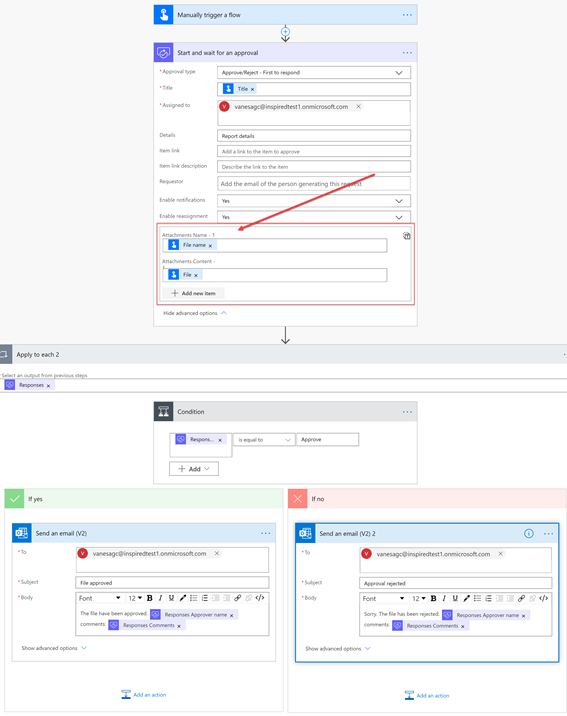
Create approval flow with attachments
Now in addition to sending approvals we can attach documents for approval.
To do this, we added an action with the following name «Start and wait for an approval». In the field «Approval type» we select the option «Approve/Reject – First to response», we provide a file name and attach the contents of a file.
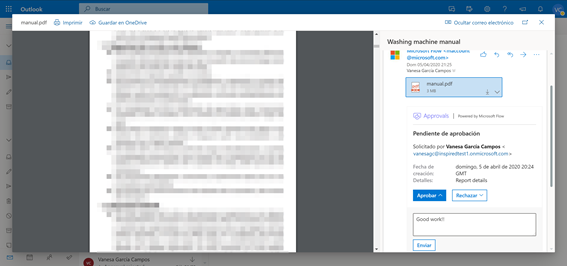
Once the flow is complete, and executed. The user who must approve the document will receive an email like the one below. In it, besides visualizing the file from the same Outlook, the user will be able to approve or disapprove the flow, from the same screen.
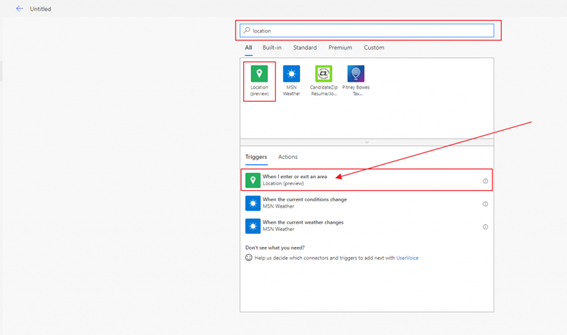
GPS Location Trigger
Taking advantage of the GPS signal from the mobile devices, the GPS location trigger is triggered. In order to create a flow of these features, you just need to add a «location» trigger, as shown in the following screenshot.
The following link, contains a post tutorial that explains in detail the use of this Trigger. Go to Microsoft Flow in Virtual Camp ABR’19 (Part 1)
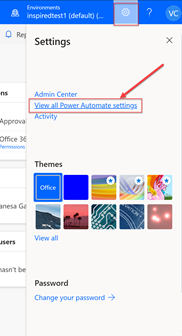
How to change language, location or activate the experimental features
On the Power Automate page within Office 365, click on the gear and click on the «View all Power Automate settings» link.
Once this is done, the following dialog box will appear in which we can configure our Power Automate.

Happy coding!!